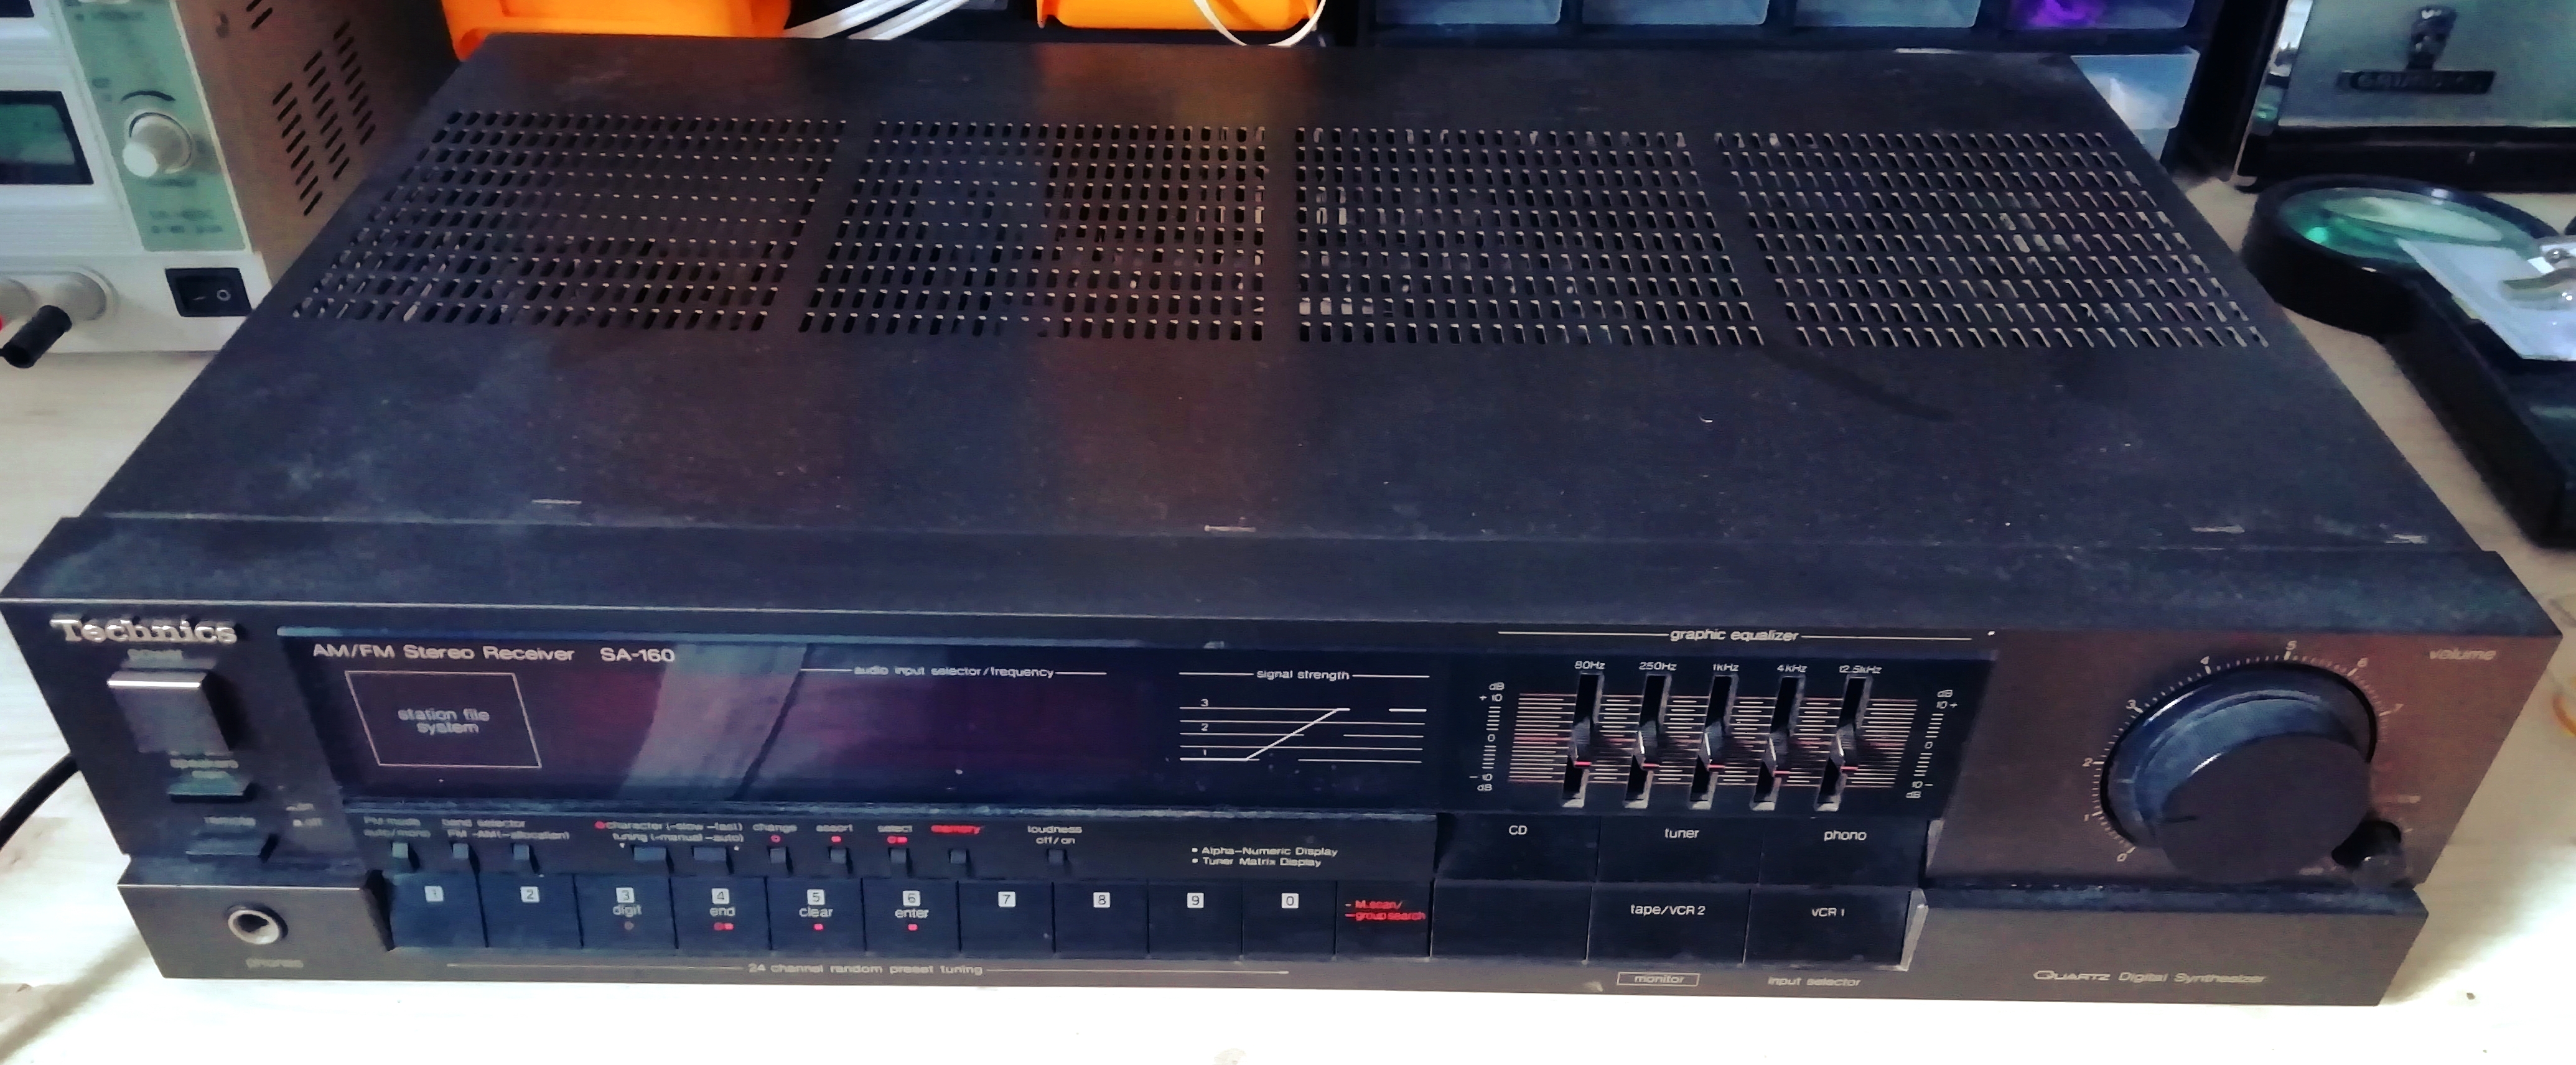
I really like older stereo HiFi amplifiers. They can deliver great quality audio, if you have a good setup and stereo is usually enough, if you want to listen to music. Most part of the sound quality is dependent on your speakers and the room, anyway. So I'm really happy with my Technics receiver from the 80s.
Older Stereo equipment usually has a 'loudness' button, which has almost vanished completely in modern audio equipment. What does it do anyway?Well, the human ear does not hear all frequencies equally good. Most peoples hearing is somewhere between 20Hz up to 20kHz. The older they get the more problems they get to hear the high frequencies. But also in between, there are frequencies we here louder than others. So far this is normal and does not matter to the sond experience of a HiFi system because our ears work the same, no matter if exposed to live music or a record. BUT the sensitivity also depends on VOLUME. We are, in some parts of the frequency spectrum less sensitive than others, but this sensitivity is not linear with the volume of the music. This means, for example, that if you listen to music in a room at low volume the mix sounds different than if you turn the music up at your house party. And most prominent that shows in a lack of bass at low volume.
To correct for that, clever people thought of a correction which allows for non linear volume reduction across the frequencies, resulting in a better listening experience. This is on most systems called 'loudness' and has for example the effect, that the bass is boosted at low volume and leads to a more 'balanced' music experience.
But sometime in the 90s when motorised and remote controlled volume control was beginning to be the standard, loudness circuits vanished. Nowadays they are mostly realised digitally. And this leads to a problem:
To build an analog, volume coupled loudness circuit, you need to know, which volume is dialed in. So they realized it with special potentiometers, which are stereo plus an extra resistance pin for loudness. And after several decades of use, they tend to crackle an pop and do weird stuff, that does not really benefit your music quality, so you need to do something about it.
But since nowadays those are not used most of the times, it is really hard to find the right spare parts. There is, as far as I know one company, which builds these potentiometers, left. But they only sell them in one resistance value. So if your circuit has a higher resistance build in, you only have left two options: Either remodel your loudness circuit, or try to repair the potentiometer.
Now my system was at a point, where the right speaker was off more often than not. First it helped, if I rattled softly on the volume knob, but after some time it was so bad, that it went off an on to the rhythm of the bass. So I had to do something about it.
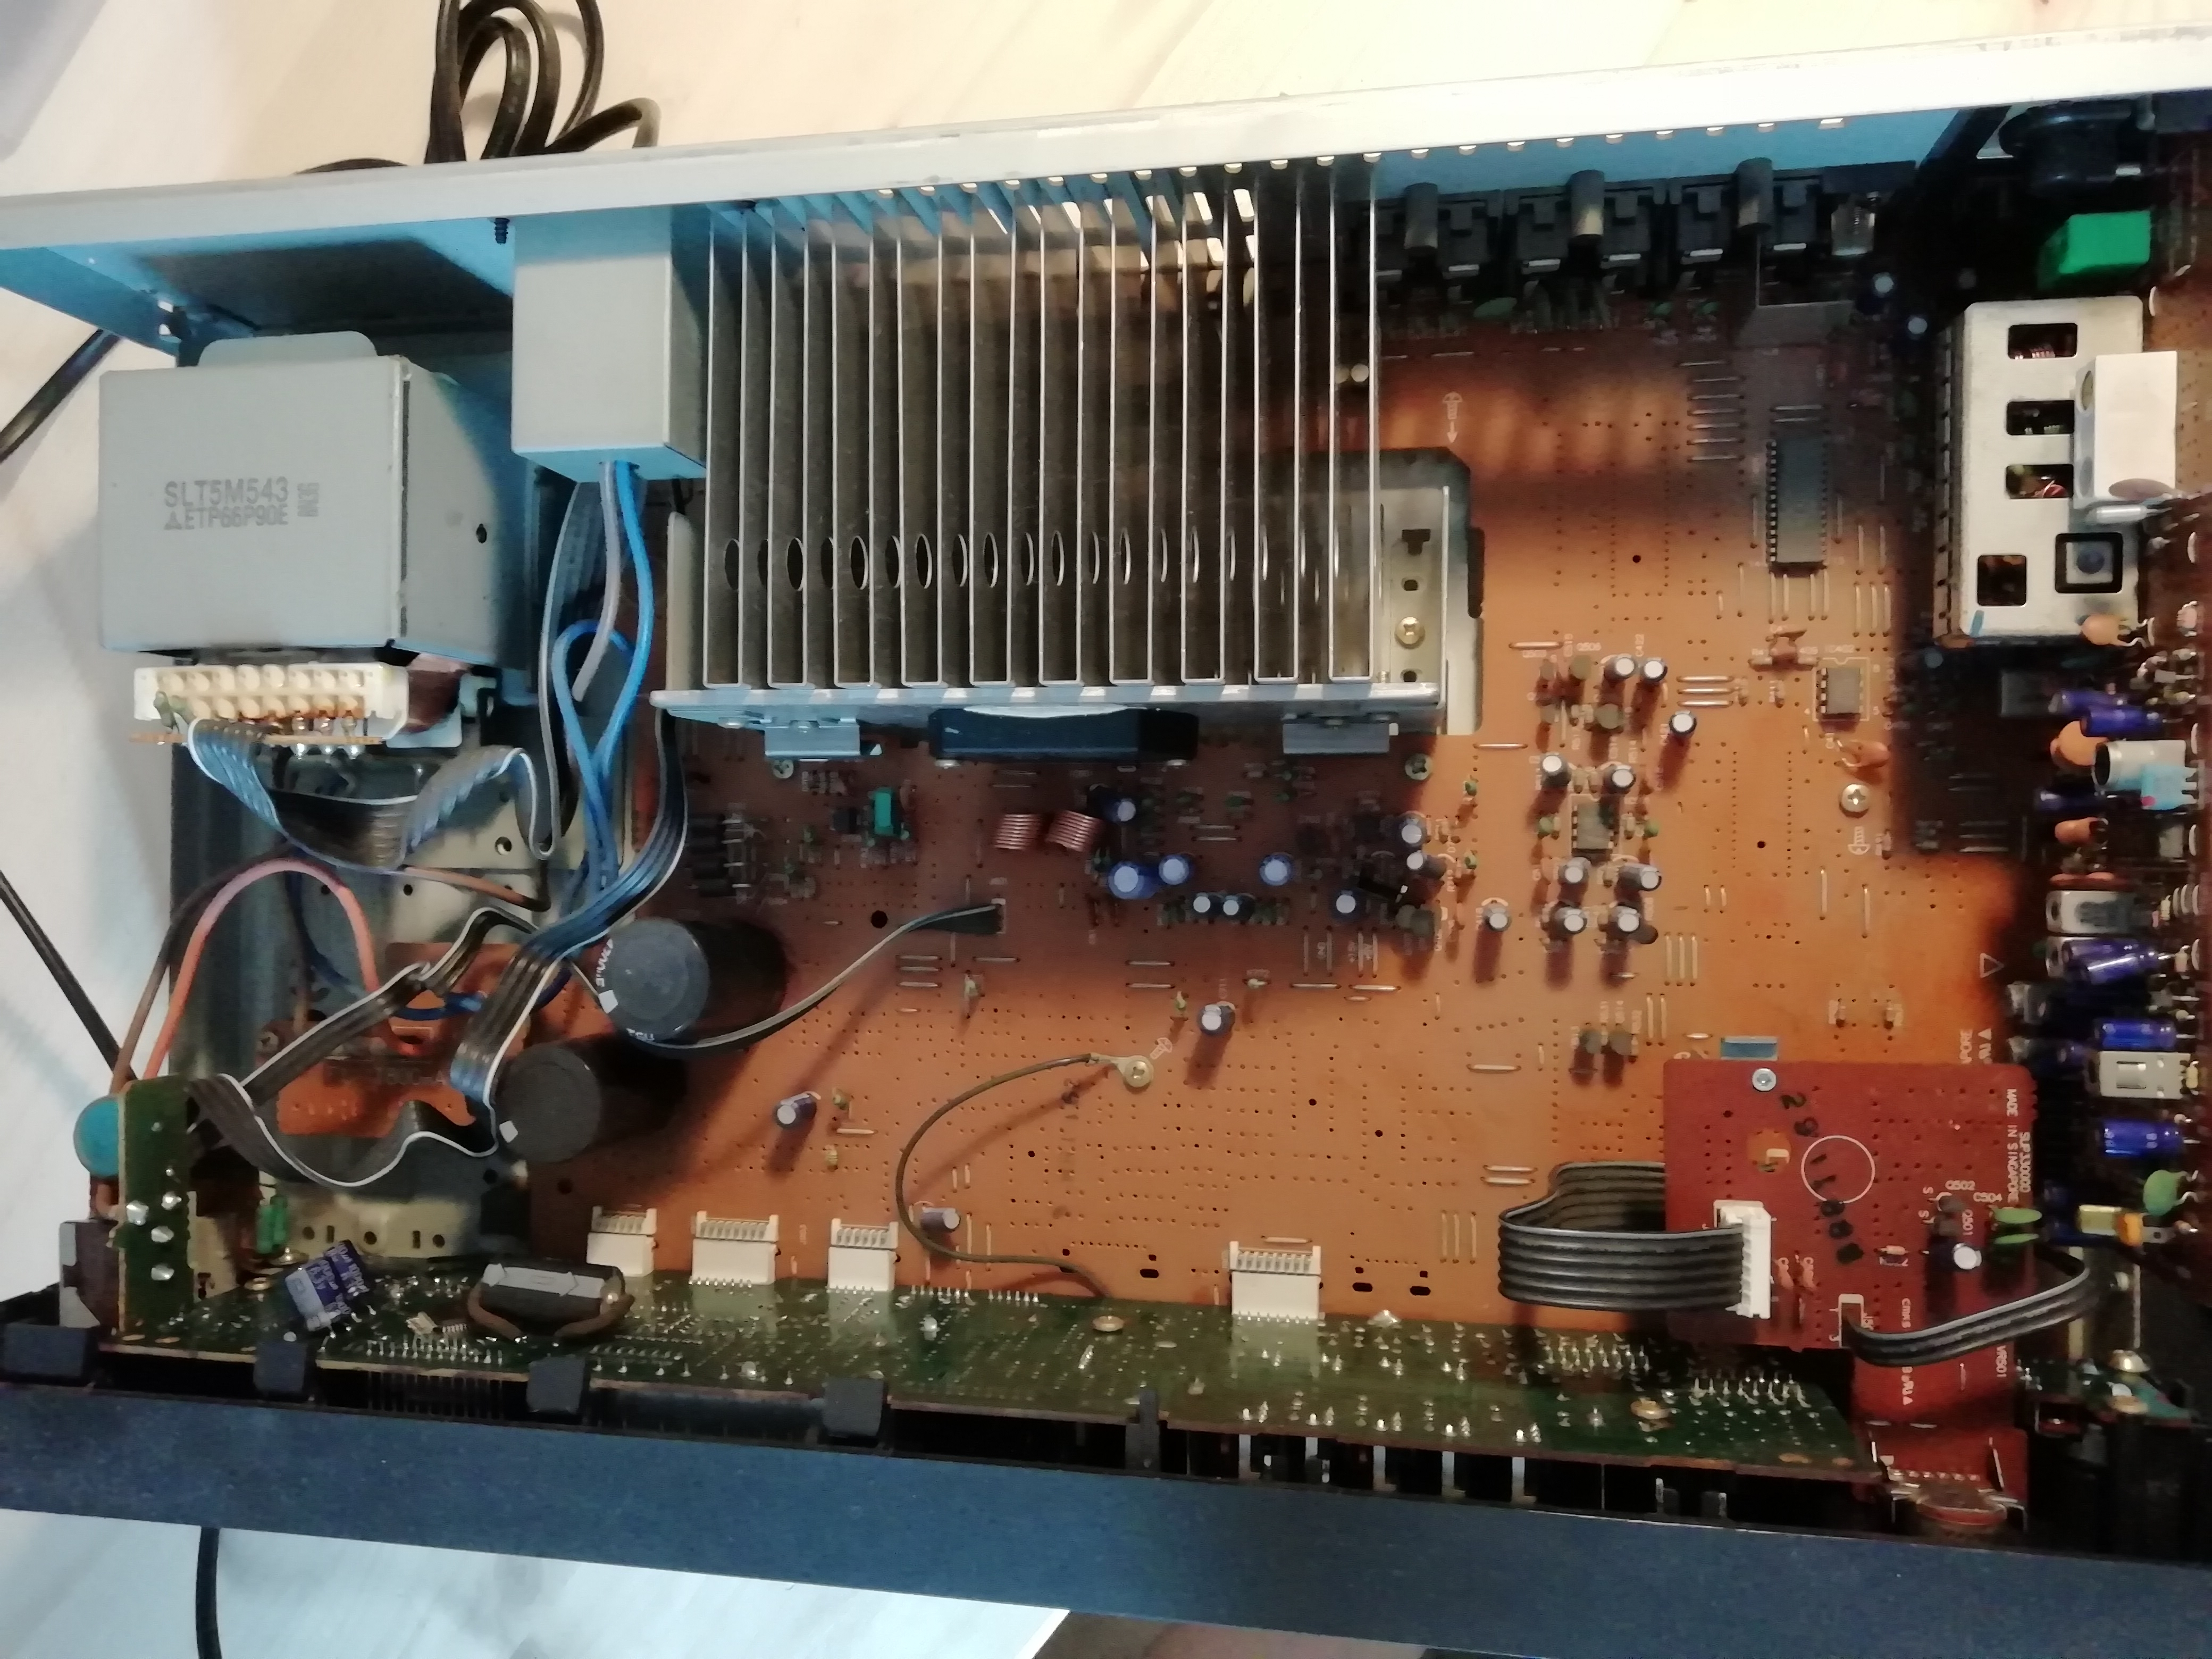
After opening the receiver you see, that inside are not that many parts. The heaviest, as usual, is the transformer in the upper left of the picture above. Most room takes a heat-sink in the upper middle of the picture above. The pcbs still have much room on them, although there are many holes drilled, which are not equipped. This is probably, because my system, the Technics SA-160, is not the top of the line device. There were more expensive ones at the time in the same design, which, as it seems, had more to display. So I guess, they just made one PCB and just left out parts for the cheaper versions.
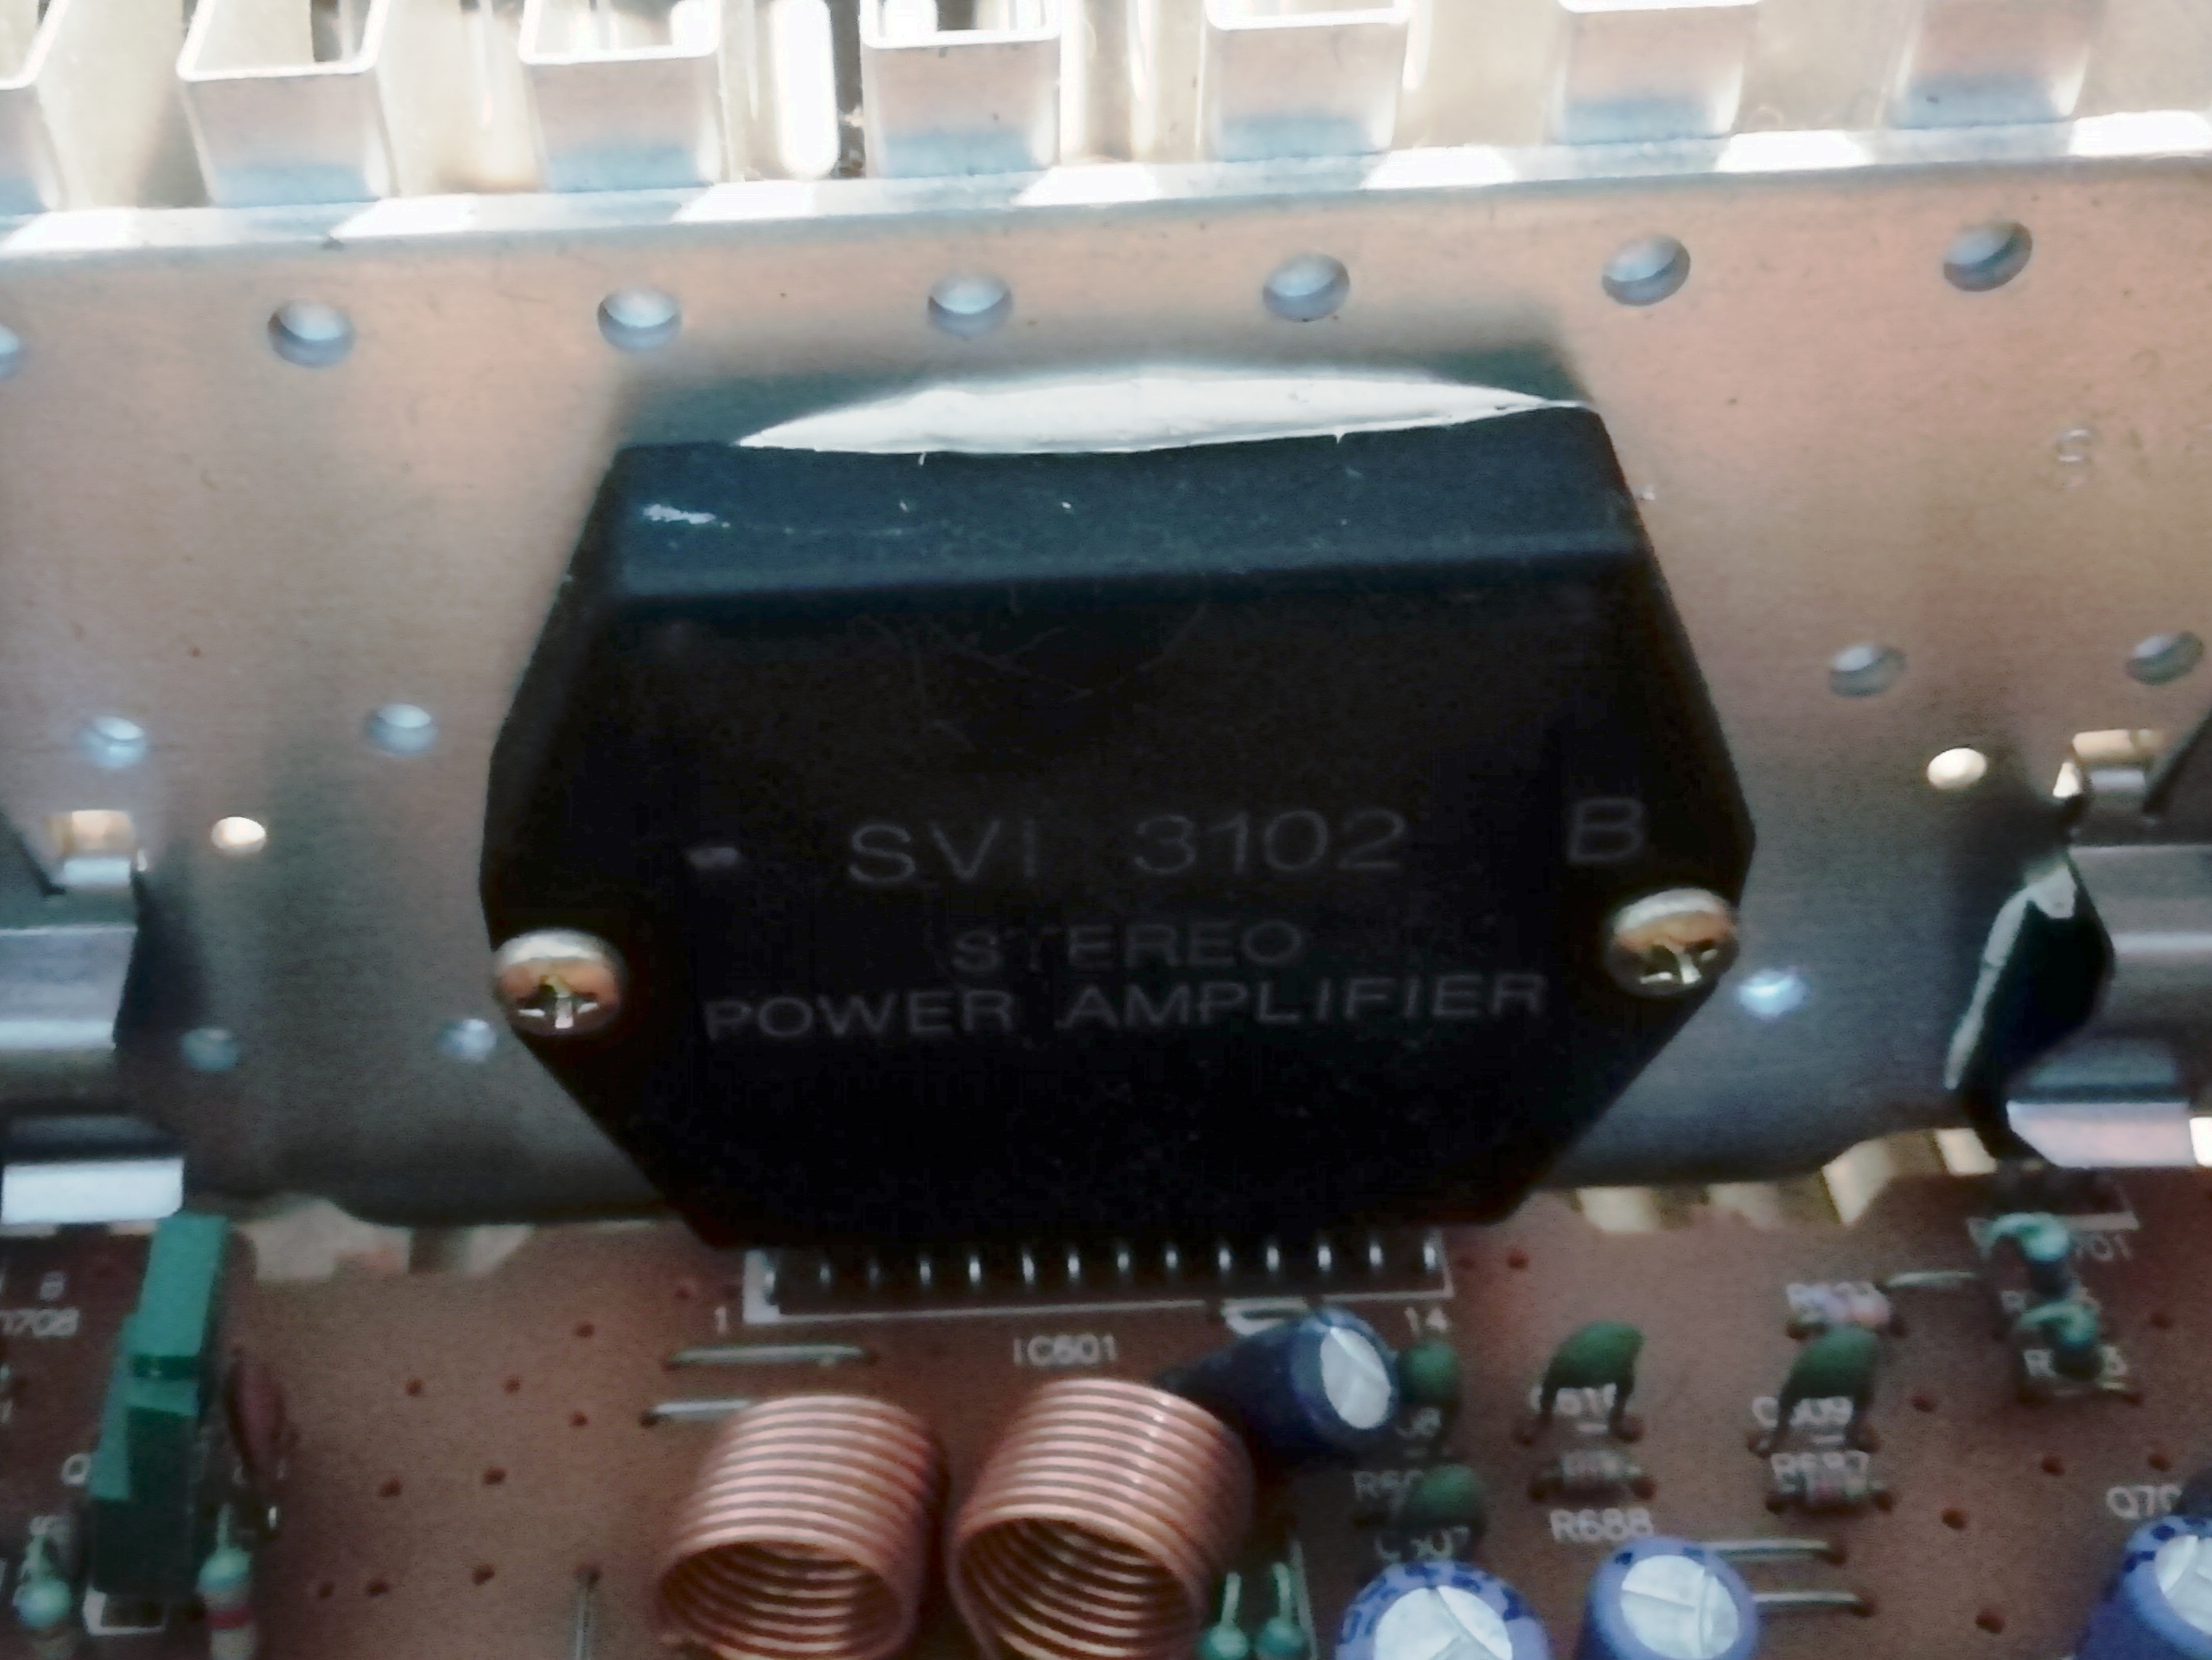
If you have a look on the parts which need the impressive heat sink, you only see one part, and thats labeled SVI3102 and is the amplifier. Already an integrated circuit in the 80s, roughly the size of a men's watch. I learned in some forum, that most of the amplifier ICs of the time were build by Sanyo and called STK instead of SVI. You can get a data sheet from here. This is also one reason, why the case looks a bit to large for what's inside. They didn't need much space, because the amplifier was an IC. They only needed the peripherals, a voltage source and the circuits for radio, a pre-amp for Phono (although, perhaps that's integrated too, the linked datasheet is not really complete and/or conclusive about the features) and the peripherals for the display. That's more or less it.
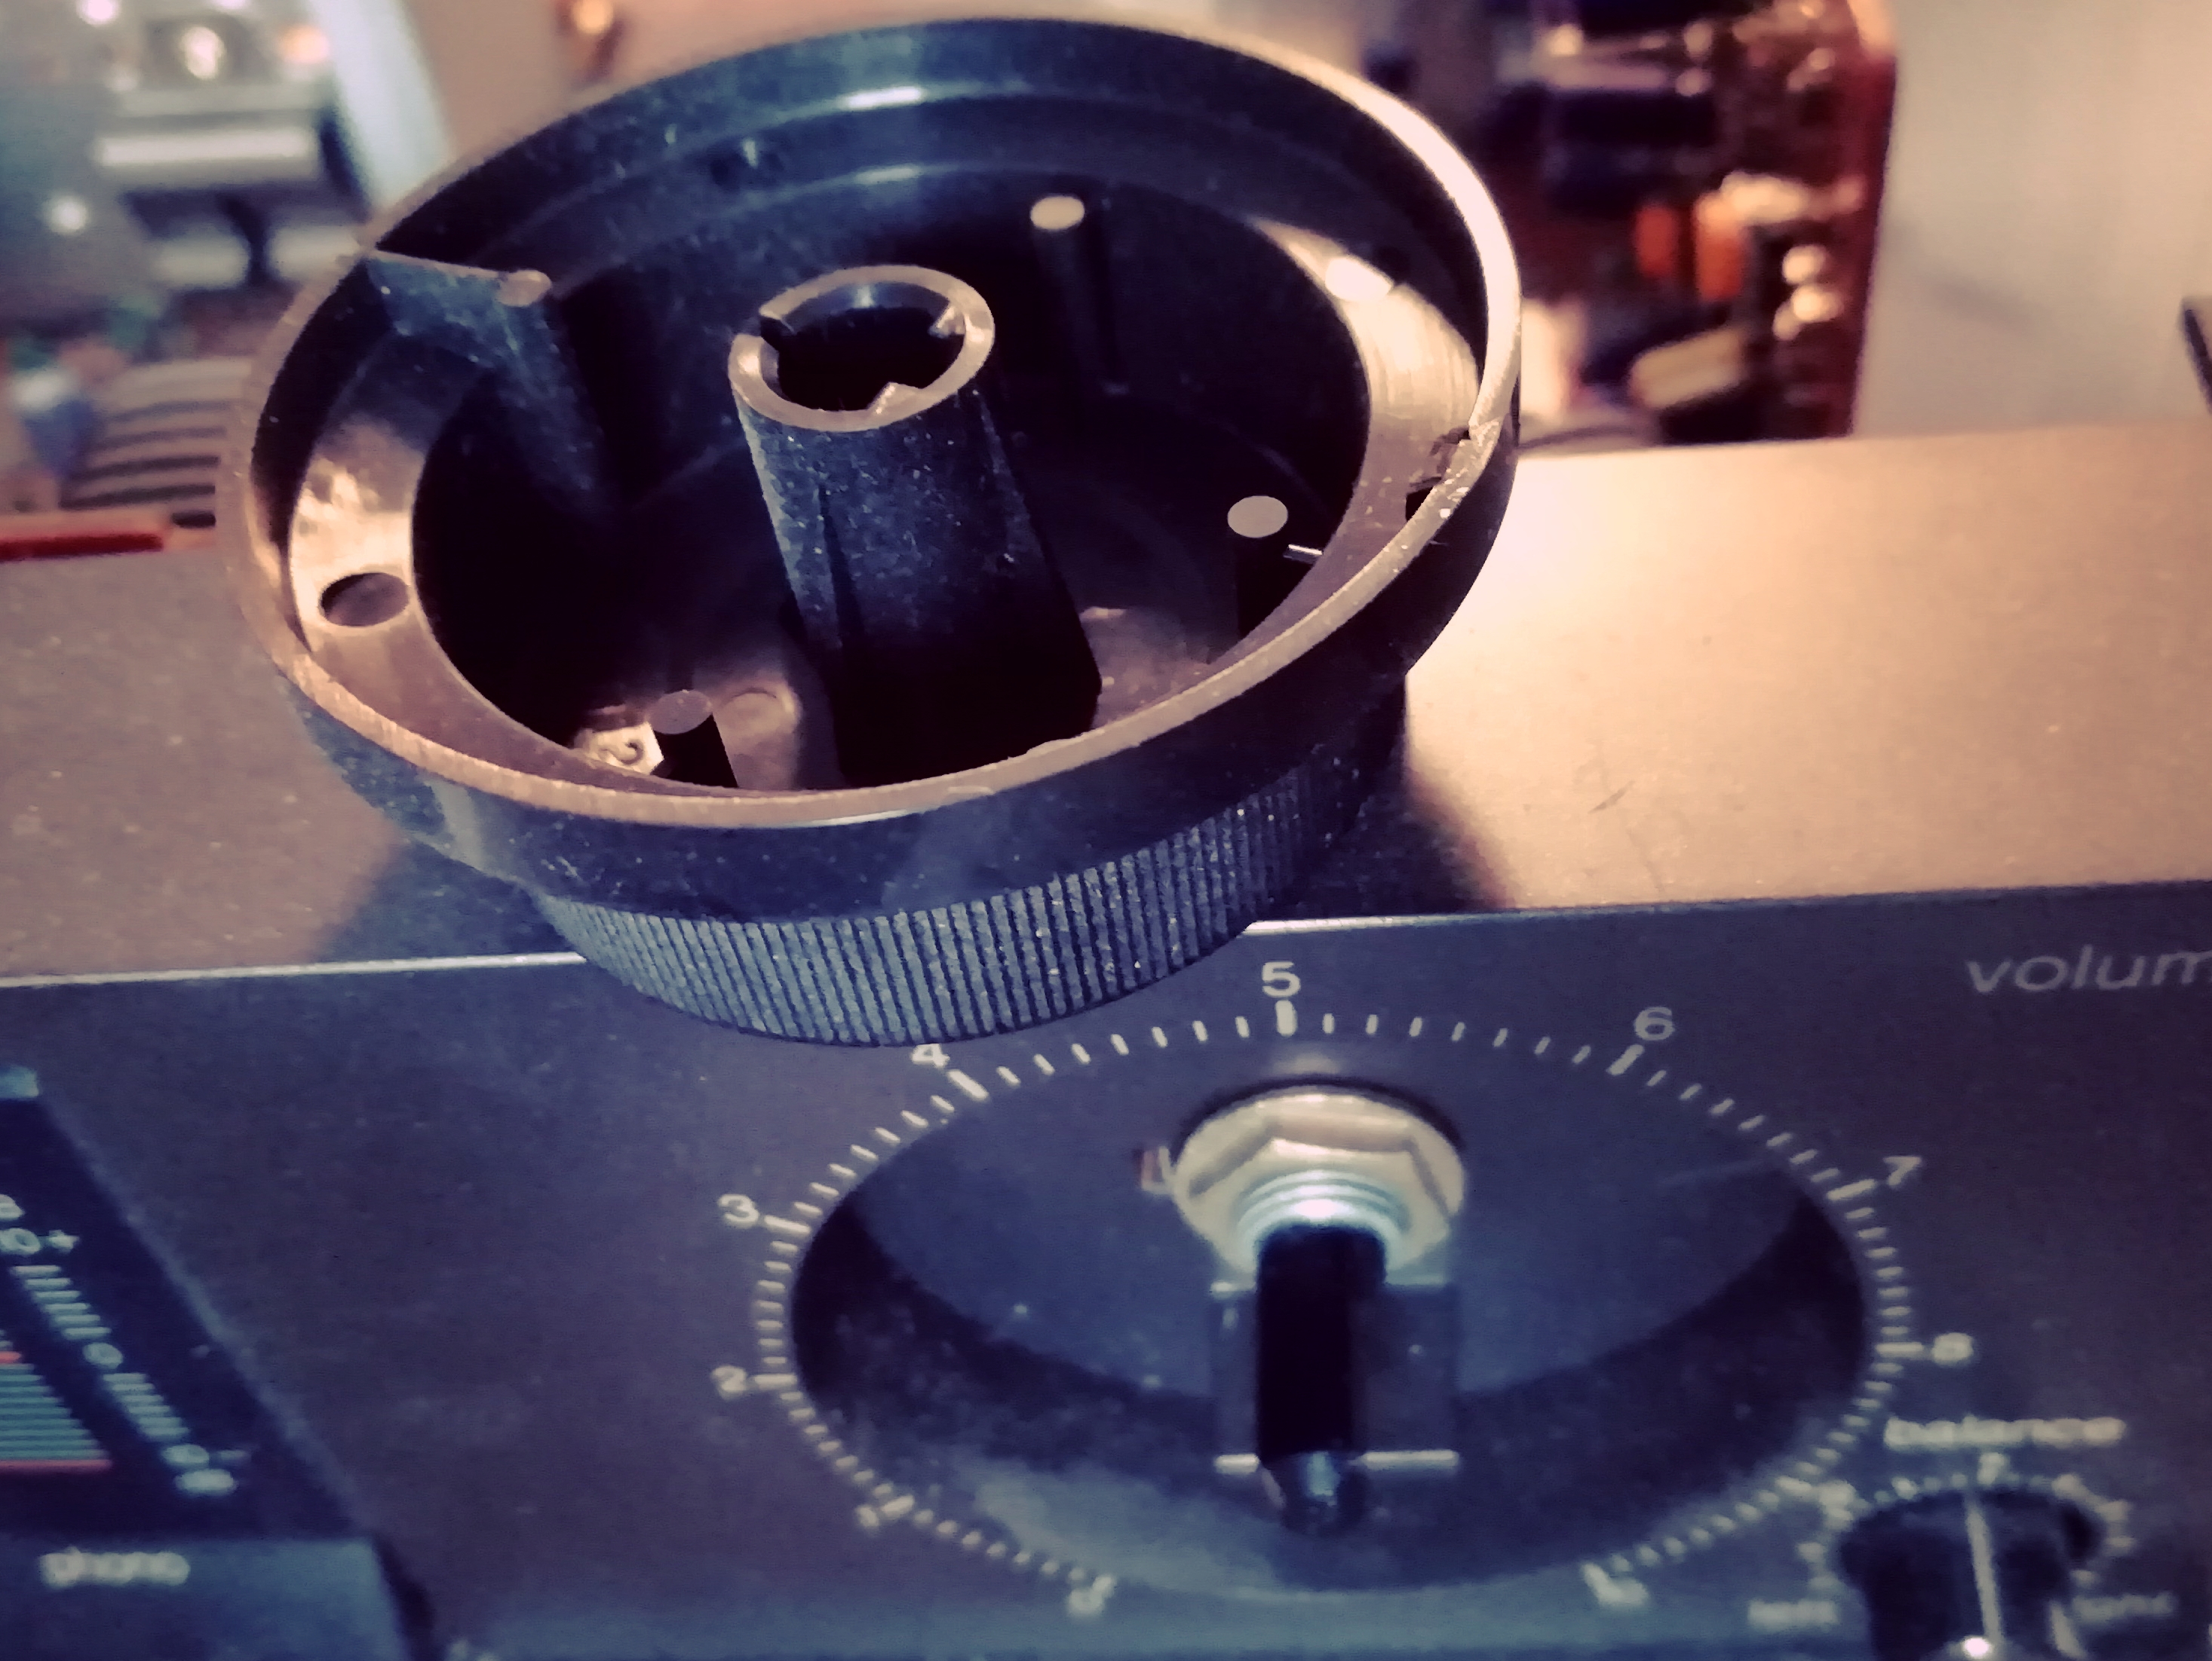
Alright, now let's get to work. To reach the Pot, the volume knob has to be removed. In my case by carefully pulling at it. After that you can reach the nut which holds the pot in place and loosen it.
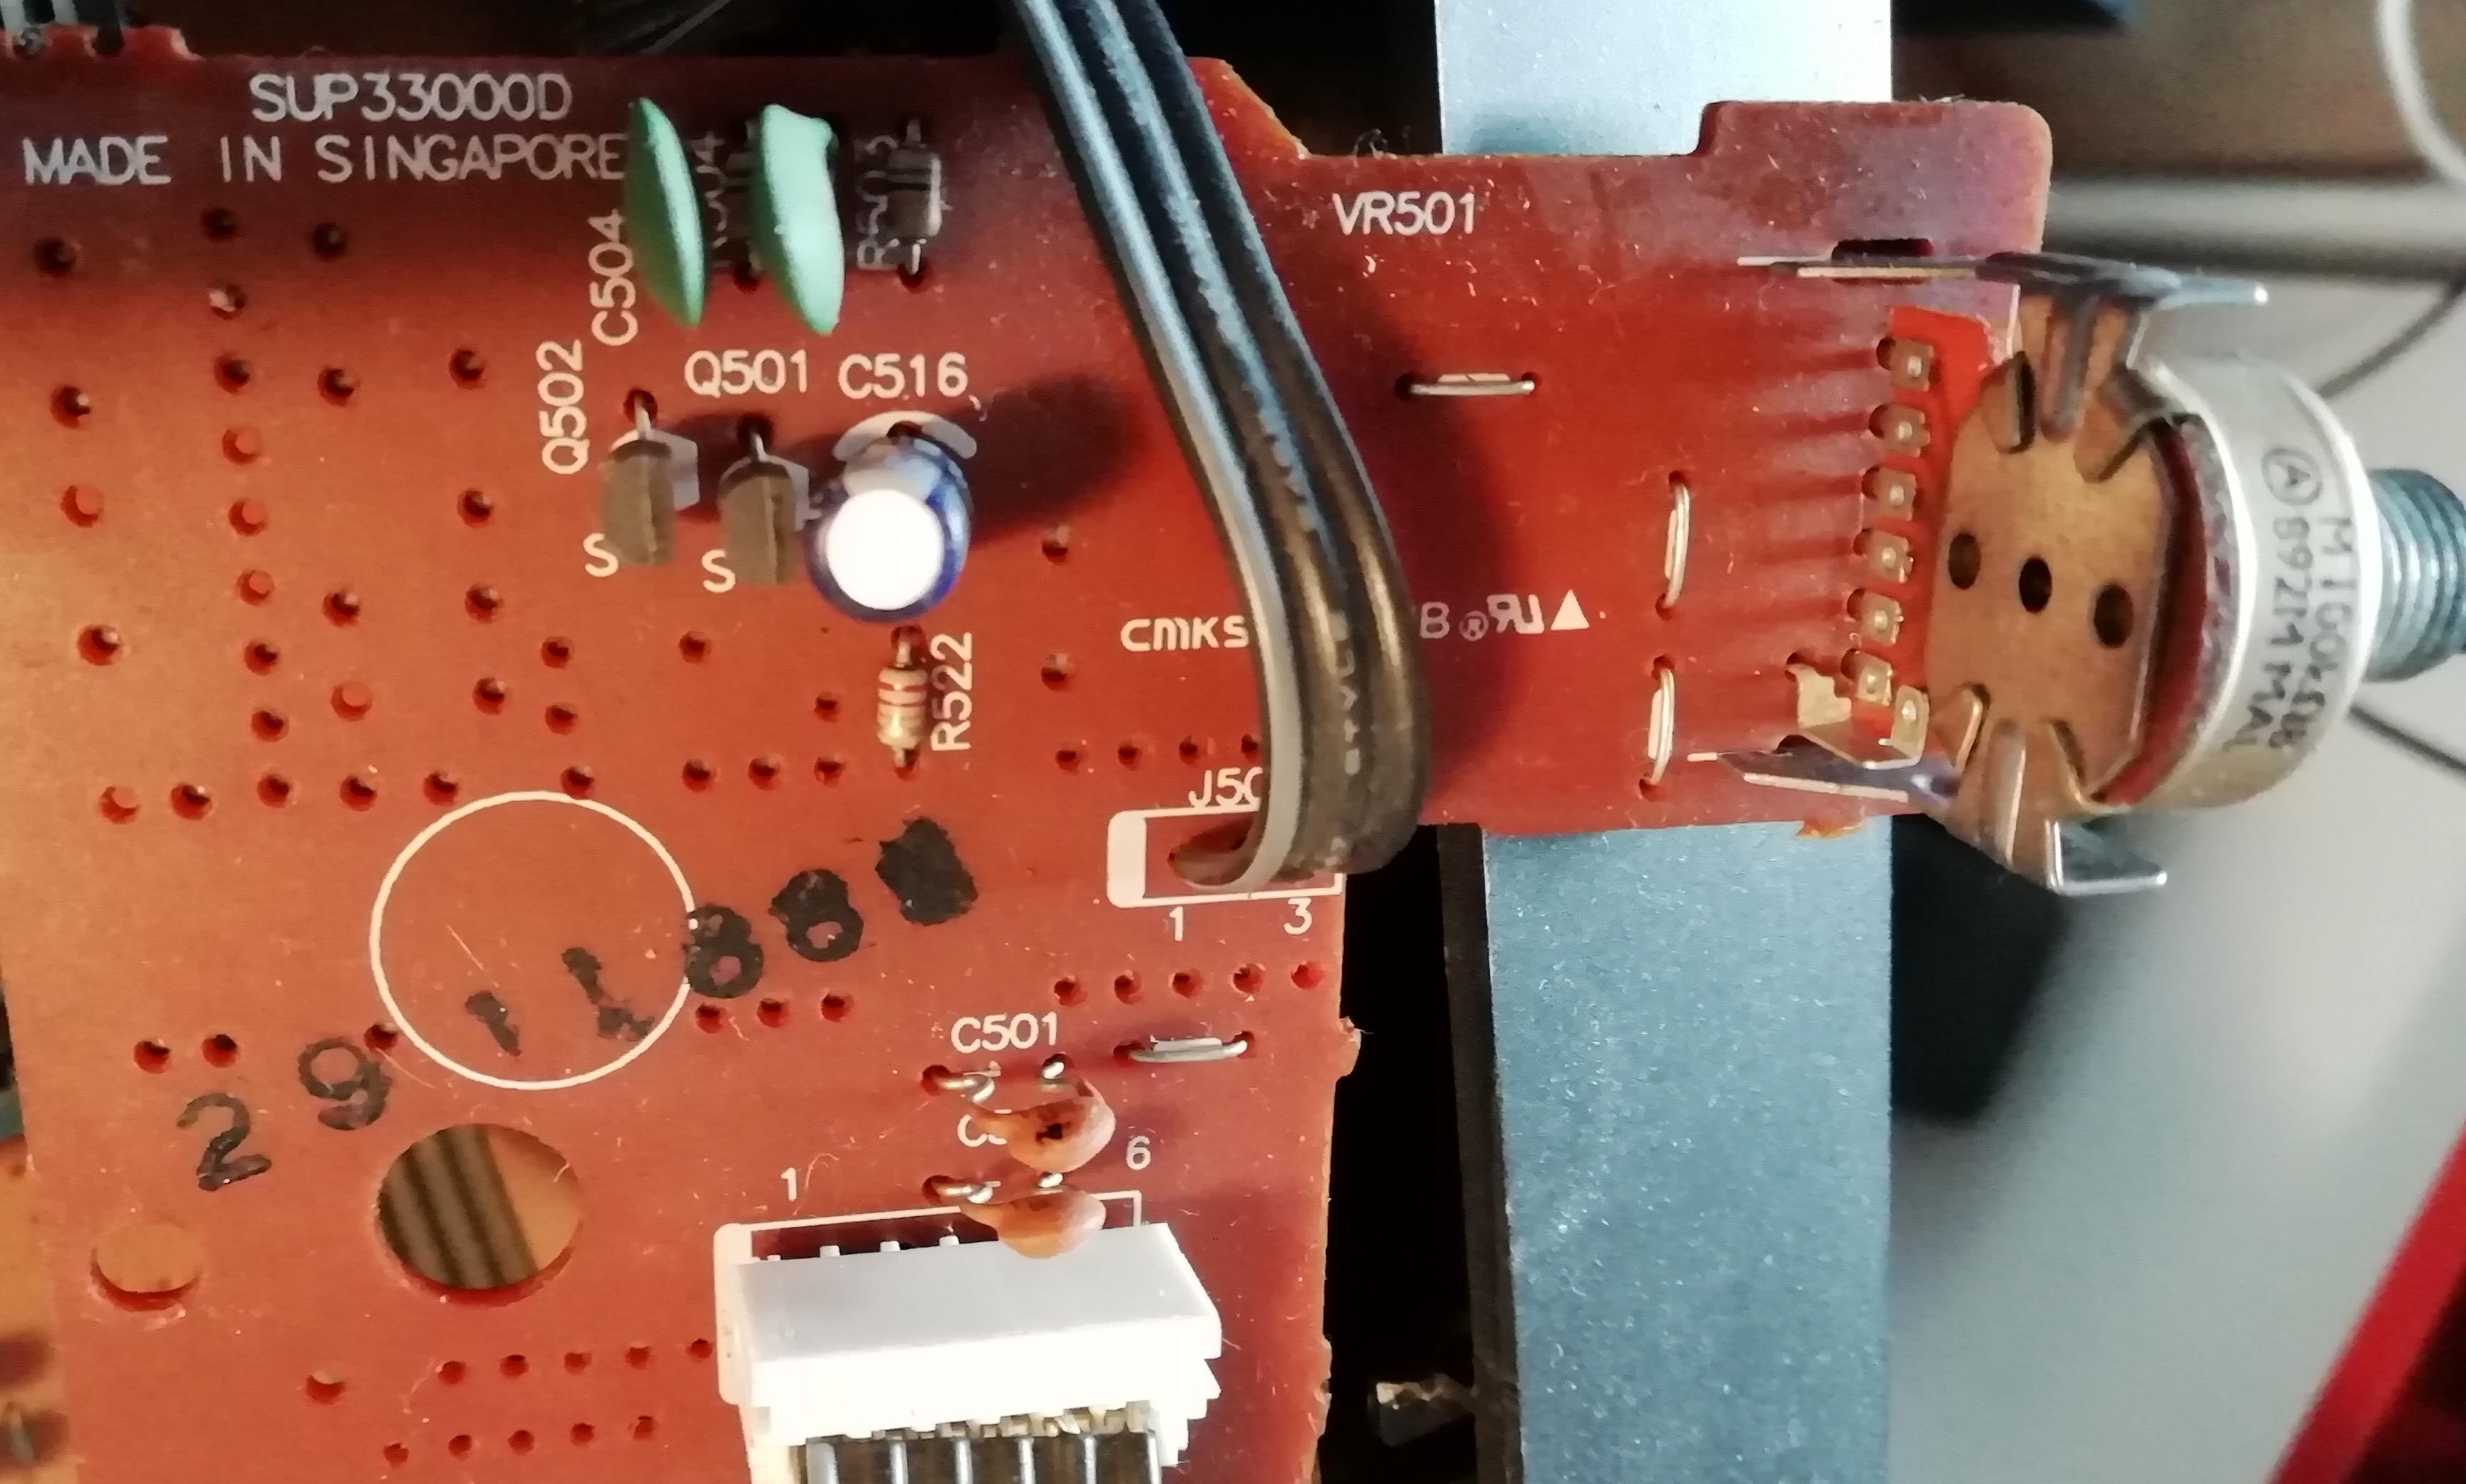
On the inside you can see the PCB on which the pot is mounted. Probably the volume and loudness regulation part of the schematics. And again you can see lots of unequipped parts.

Also on the backside of this PCB, everything seems ready for more parts.
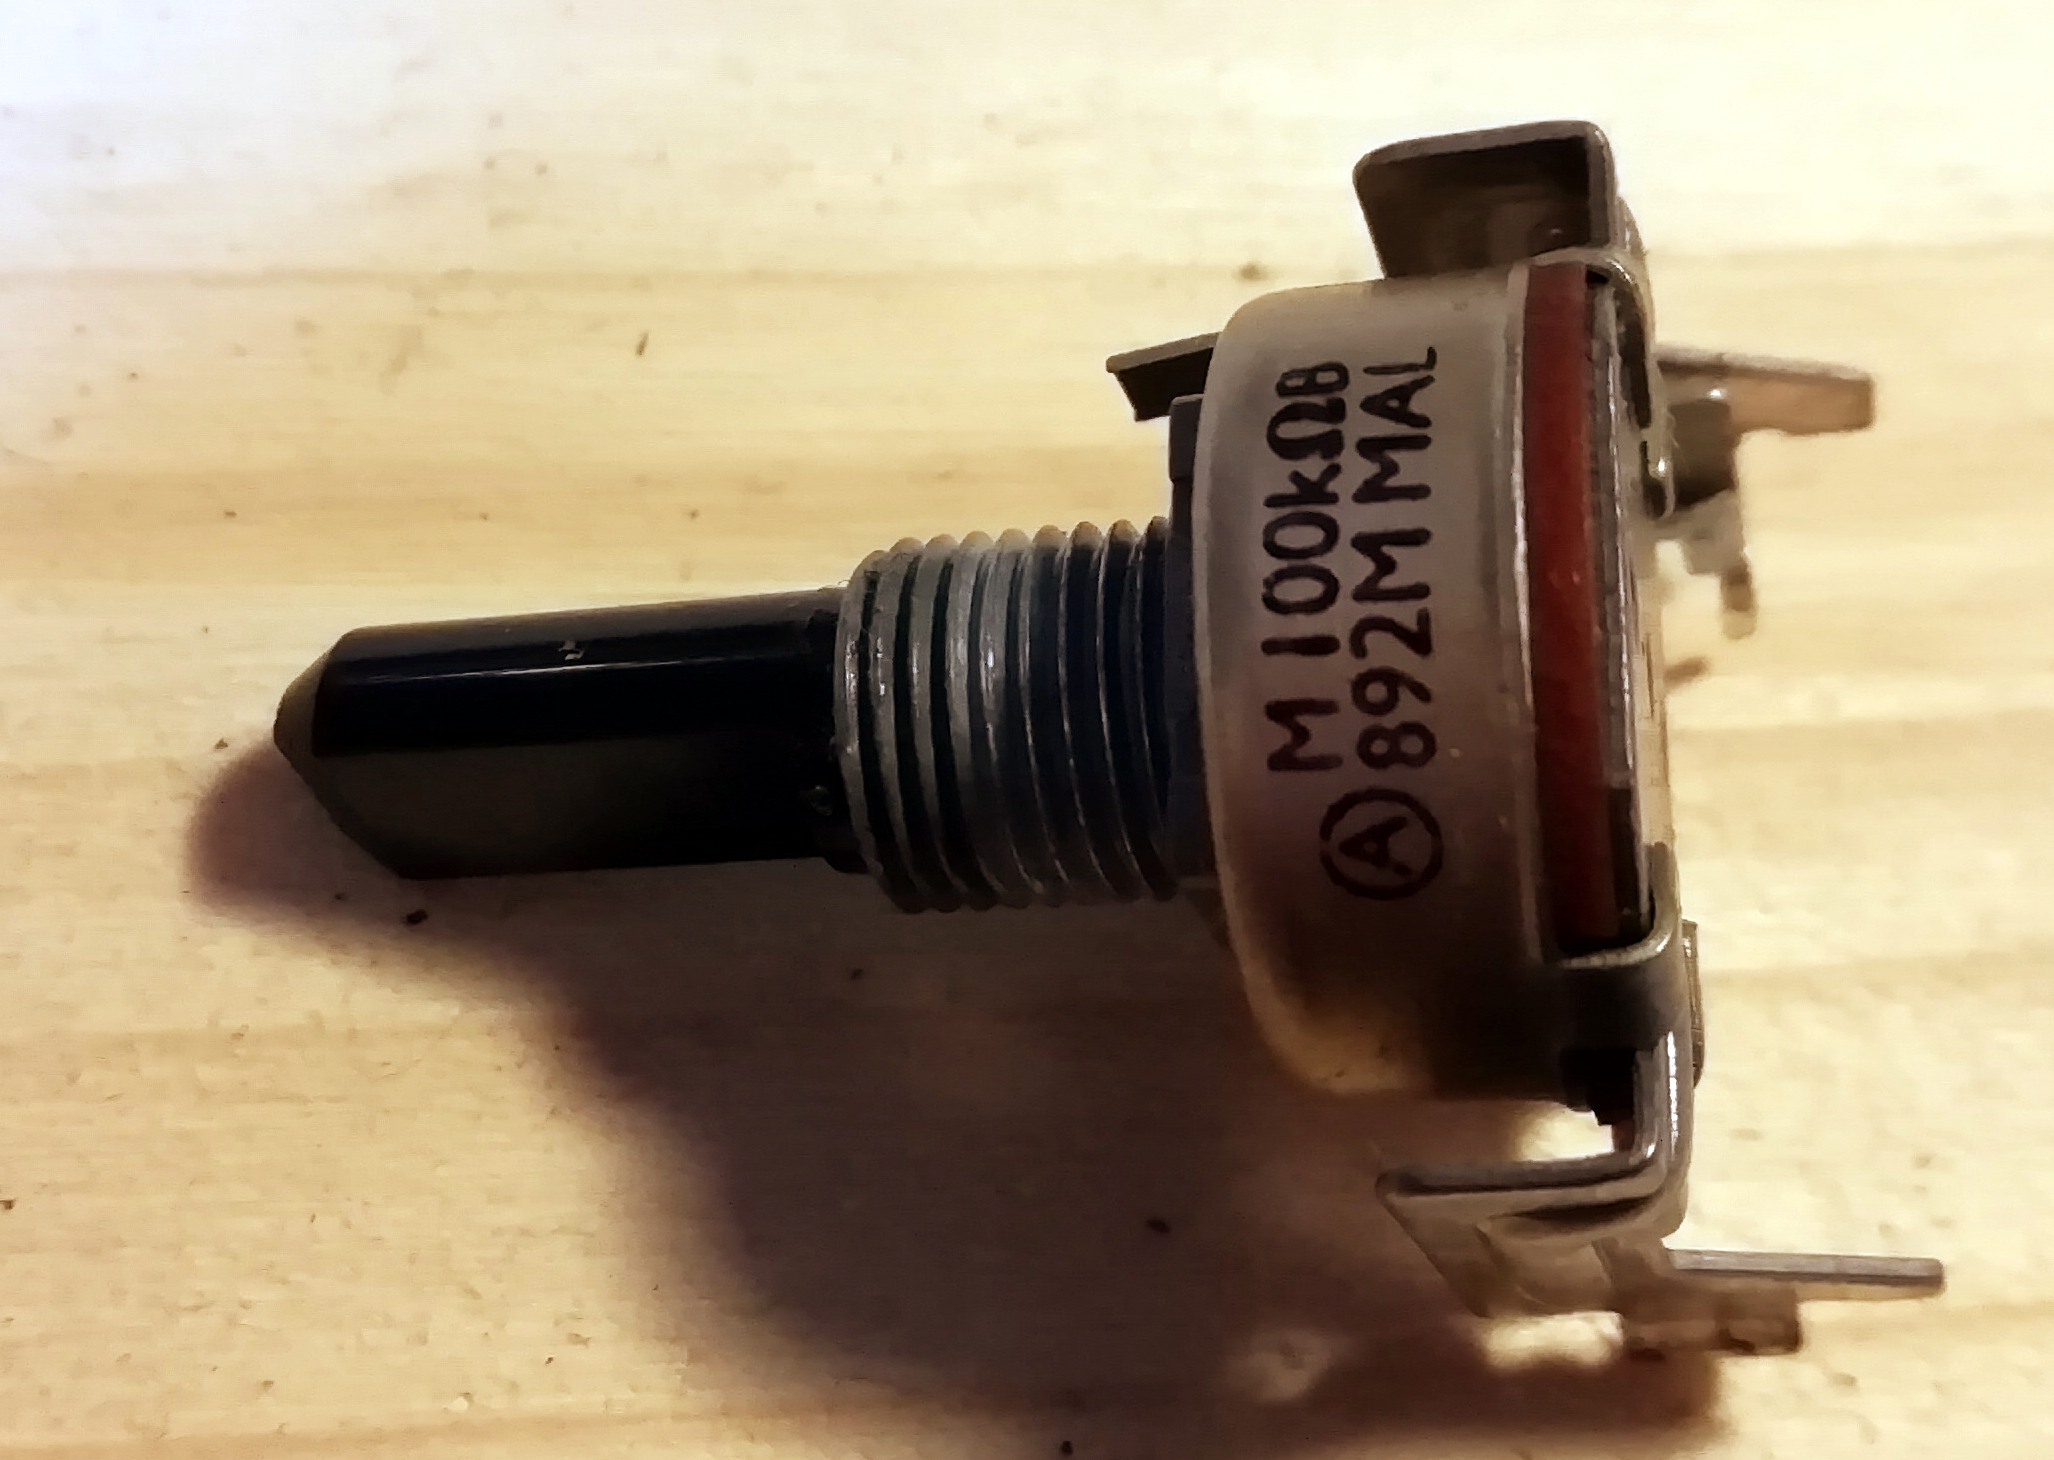
After de-soldering the pot, this is what you get. To open it, you have to bend the sheet metal clips on the back of the casing back and everything can be taken apart.
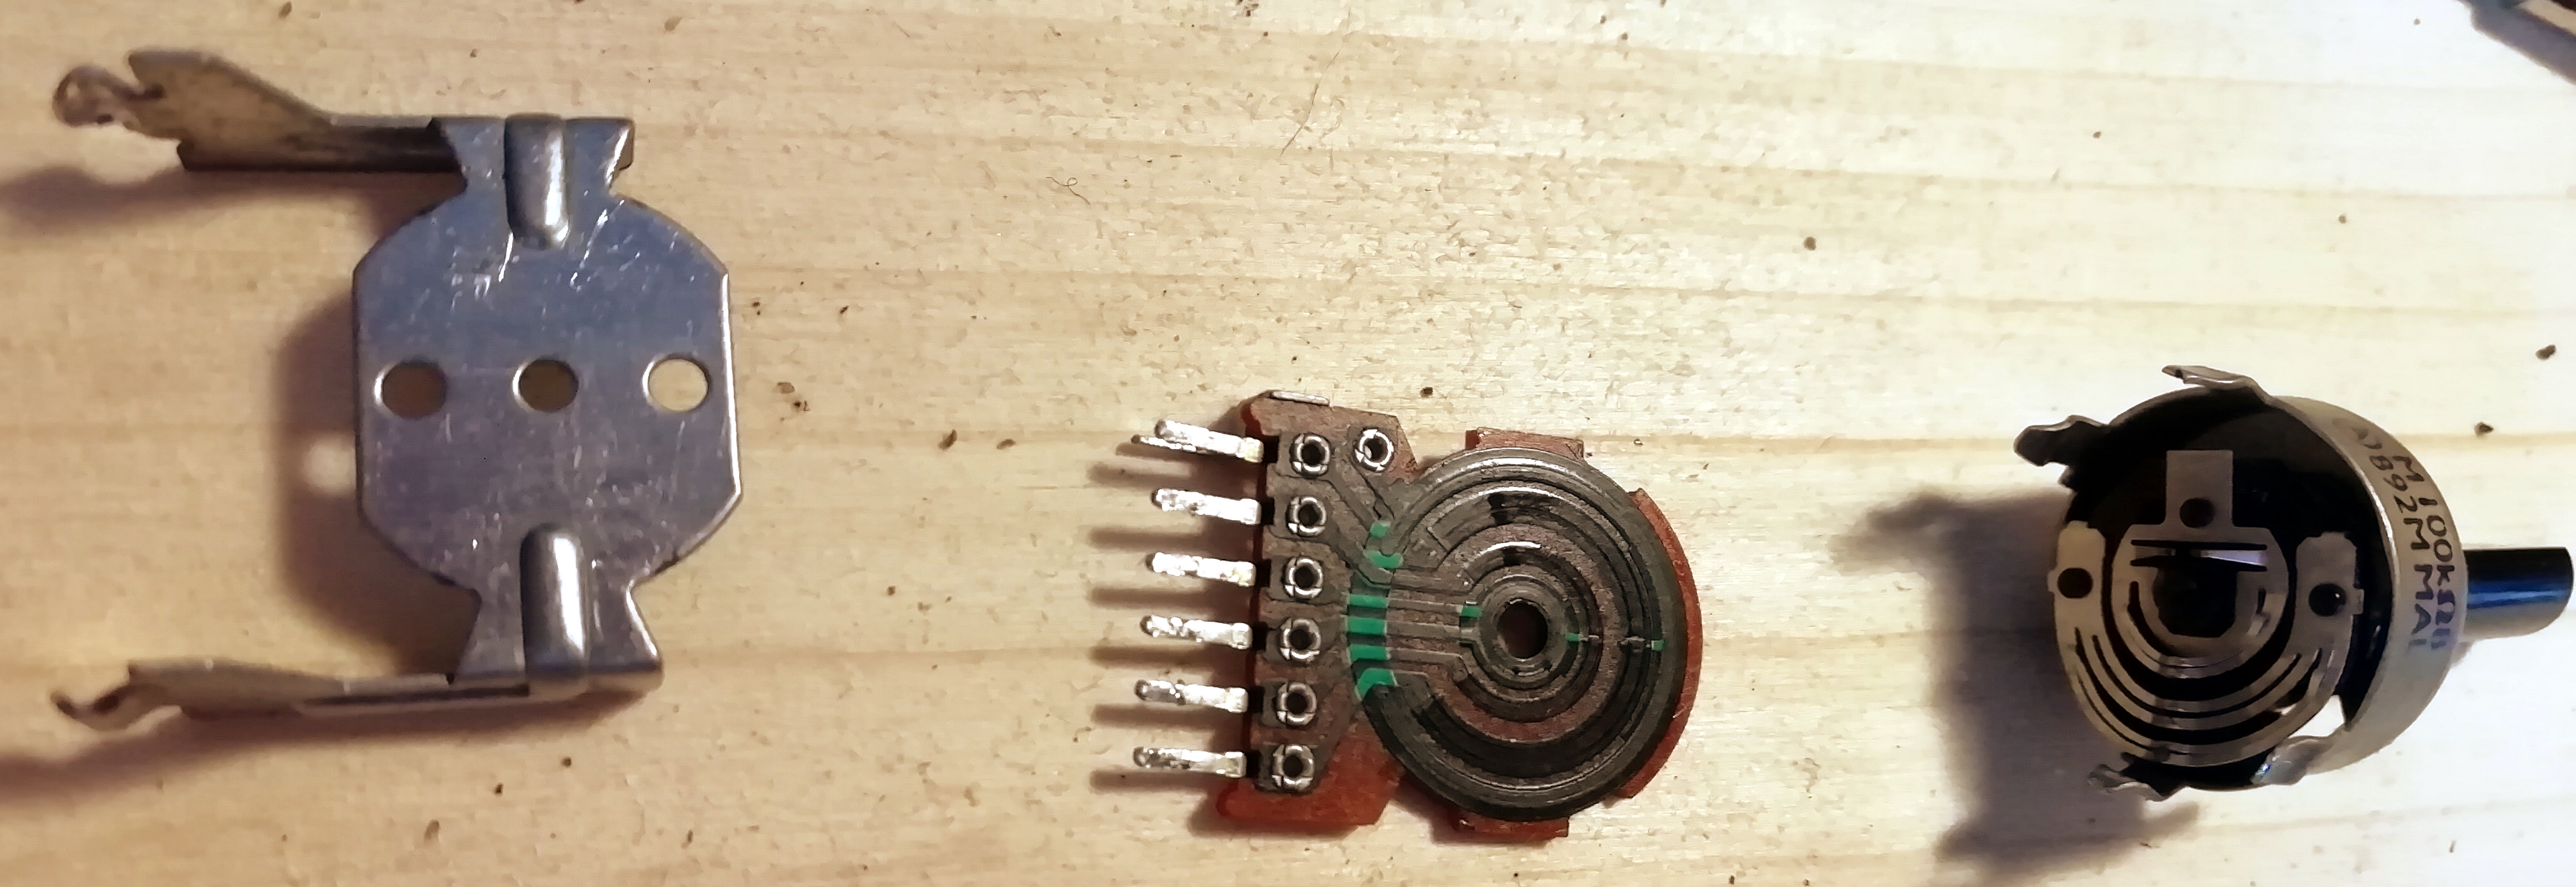
When you have it open, you will see that there are several wipers (three in my case) on one part, which are wiping along carbon covered lines on another part. And that's the magic of the potentiometer: The resisting increases, if the distance the electrons have to travel through carbon (between the wiper and the pin) increases. But, if you potentiometer is old, there may be dust and dirt there, also the wipers might be bent.
In my case the obvious thing was, that the middle wiper was bent and I carefully bent it back, so the three were in a nice line. Then I tried to clean the carbon lines: This is a delicate thing. If you are not careful enough or use the wrong cleaning agent, you might remove to much of the carbon coating and destroy the pot. I used Teslanol T6 Tuner spray, which is a special contact spray, which advertises to leave a residue to protect the carbon layer. I sprayed it on and wiped it of carefully before applying another coat, which I left to dry in the hope, that this would help with the protecting residue.
After that, I put everything back together and behold -- no more crackling. Everything works perfectly now!