---Disclaimer, (sadly) I was not paid by any of the mentioned companies---
I was thinking about buying myself a 3D printer for quite some time now. I have been using the Prusa mk3 regularly at work now and was absolutely fascinated. Since I was absolutely convinced by the Prusa concept I wanted to by a Prusa mini because the Mk3 was a bit over my price range to find out, if I would use such a machine regulrarly at home.
The Prusa mini is a bit smaller than the Mk3 and comes with a smaller print volume. One drawback is also, that it comes with a bowden feeder instead of the superior direct drive. Nevertheless, the tests and review were all very positive.
The problem is, that this machine is always sold out (at least it was in spring 2020). If you order it, there is a waiting list of several months. And I was not interestetd in such a long waiting list.
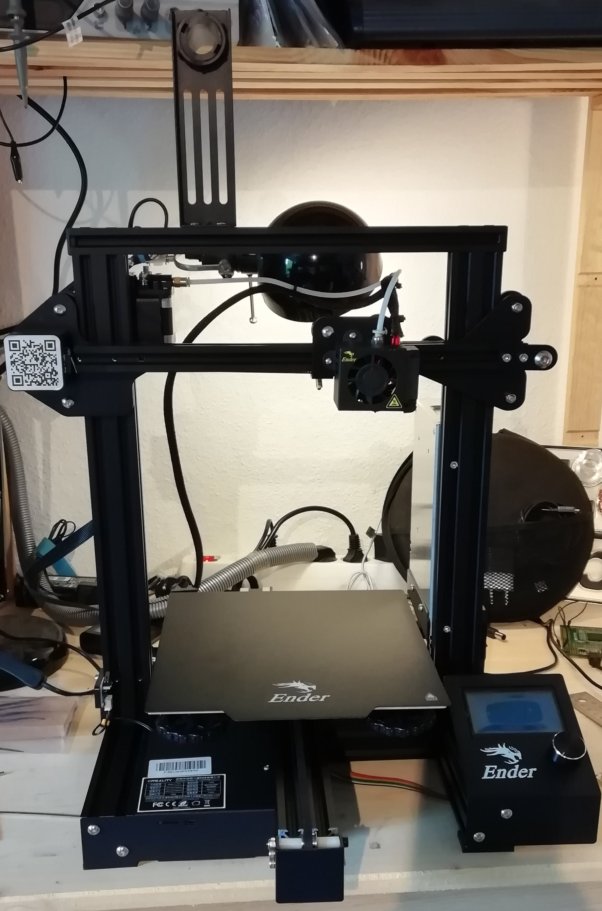
The list of entry level 3D printers is quite long and the differences in quality are, according to several reviewers, quite large. One which seemed to have been around for quite some time and had a large community was the Ender 3. Not only this, it also seems, that the company behind the Ender printers, Creality, seem to have listened to the commuity with a few things, and so I felt it was a good option to try it out. They put the Ender 3 Pro on the market not so long ago and it comes with a
few nice and obvious upgrades:
- magnetic and flexible print bed cover
- better quality power source
- the fan of the elecronics case has no openings to the top anymore.
So I looked for an independent shop where I could order the printer and did exactly this.
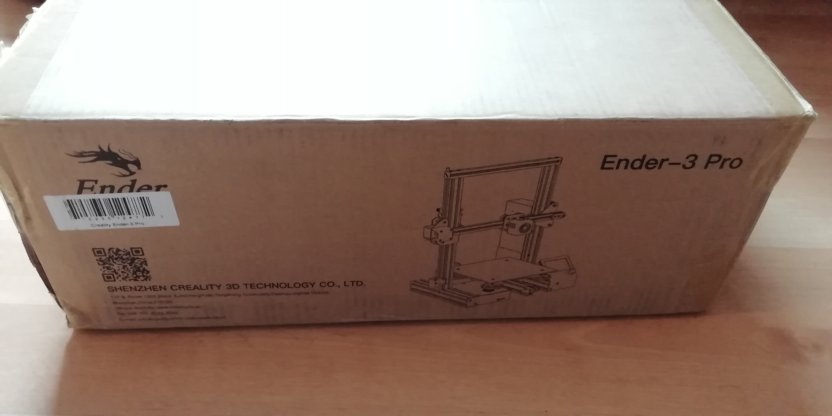

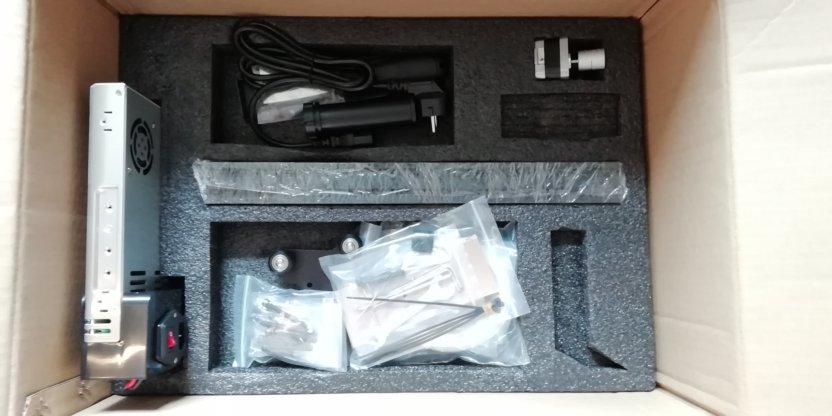
The package arrived fairly fast and in good condition. The printer comes pre-assembled which is pretty neat and a risk for frustration at the same time, as I found out later.
Following the instructions and building the printer is quite straight forward. The only inconsistency is, that the printed instructions differ from the official instructions video concerning the order of the steps. Another point, where I deviated from the instructions was the orientation of the Z Axis stepper motor.
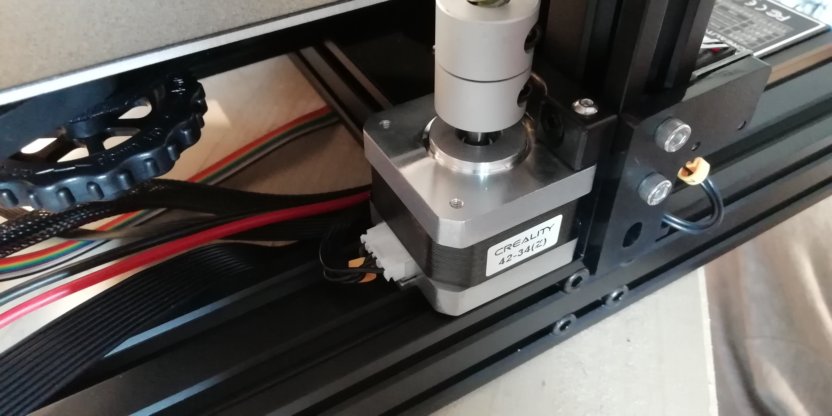
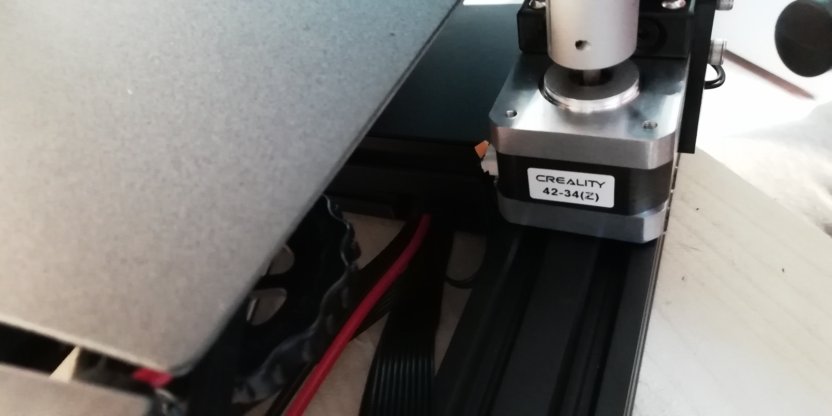
The original orientation put some stress on the cable, so I turned it around 90°. It took me about 90 minutes to assemble everything:
The biggest issue I had was with cable management, I was not happy with the way, the cables were (not) managed and searched the Internet, but it seemed like the way, it was intended. And to be fair, the critical parts (as the bed heating soldering) do have proper strain relief. Nevertheless, it was clear, that cable management would be an area where I would invest some printing time.
Now I looked for some additional advice and most peaple seemed to have issues with loose (or not tight enough) screws and nuts. So I tried all the parts and tightened, where I thought fit.
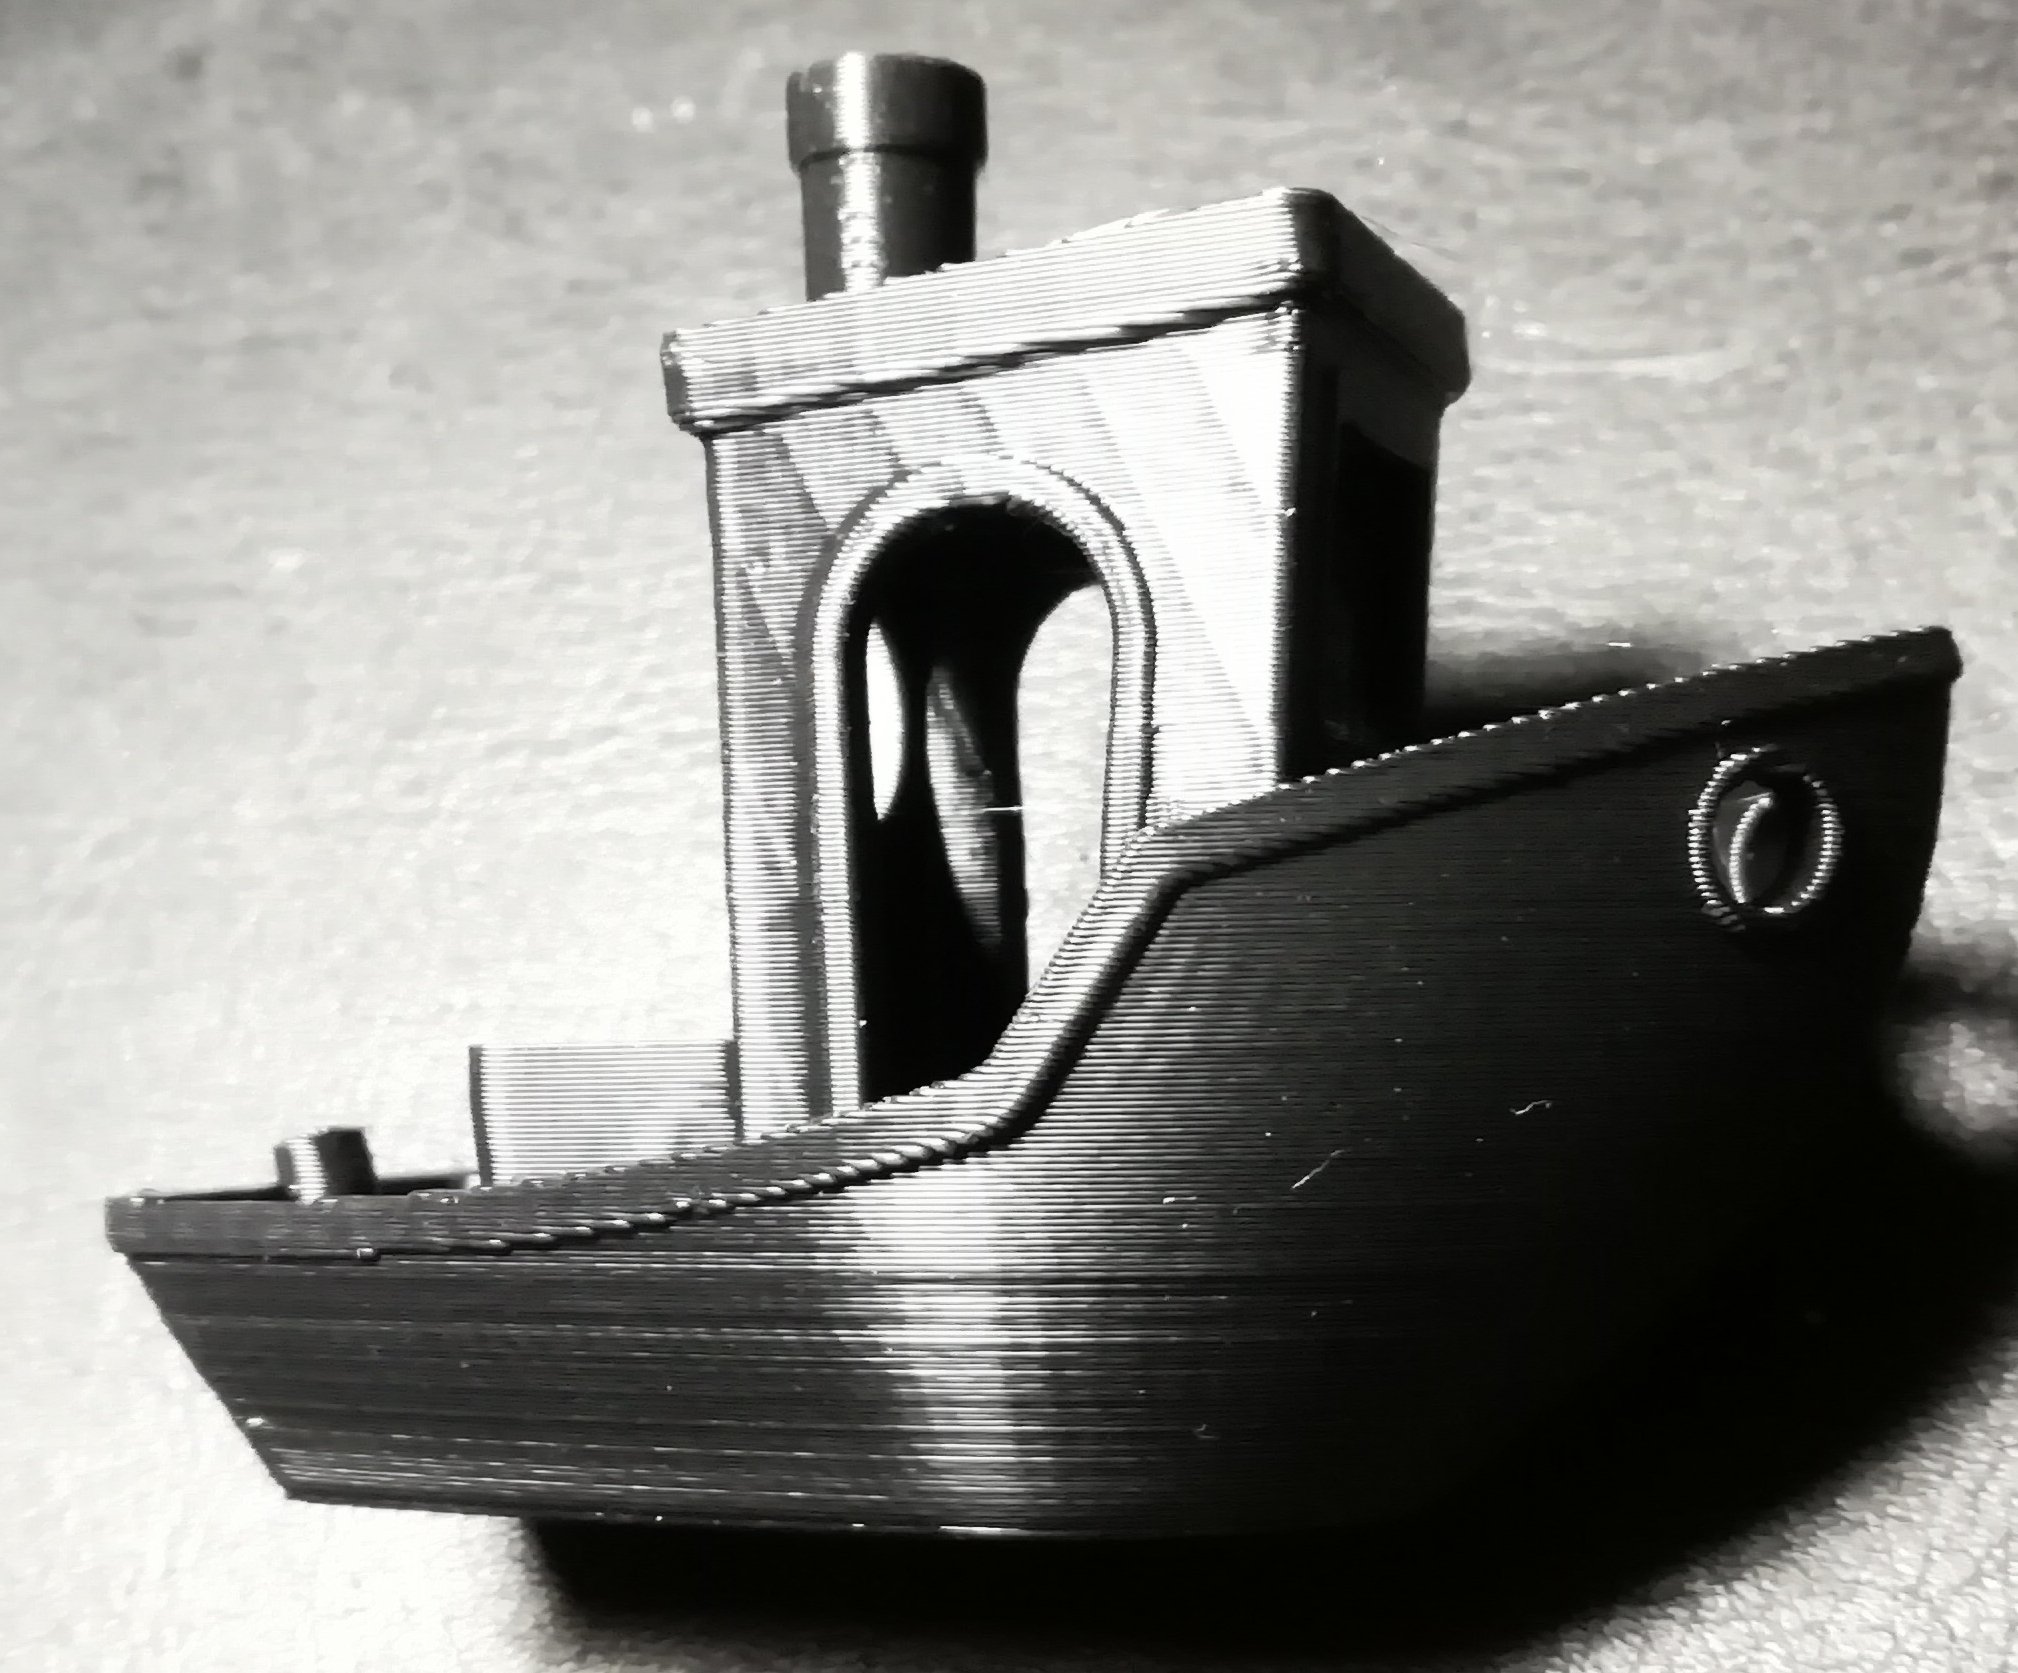
The printer comes with some filament and the filament I ordered did not arrive yet. Sadly mine was obviously not stored correctly and very brittle. But well, this printer needed to be set to printing. So typically one of the first prints on a new machine is the Benchy boat, a 3D model, made to torture your 3D printer.
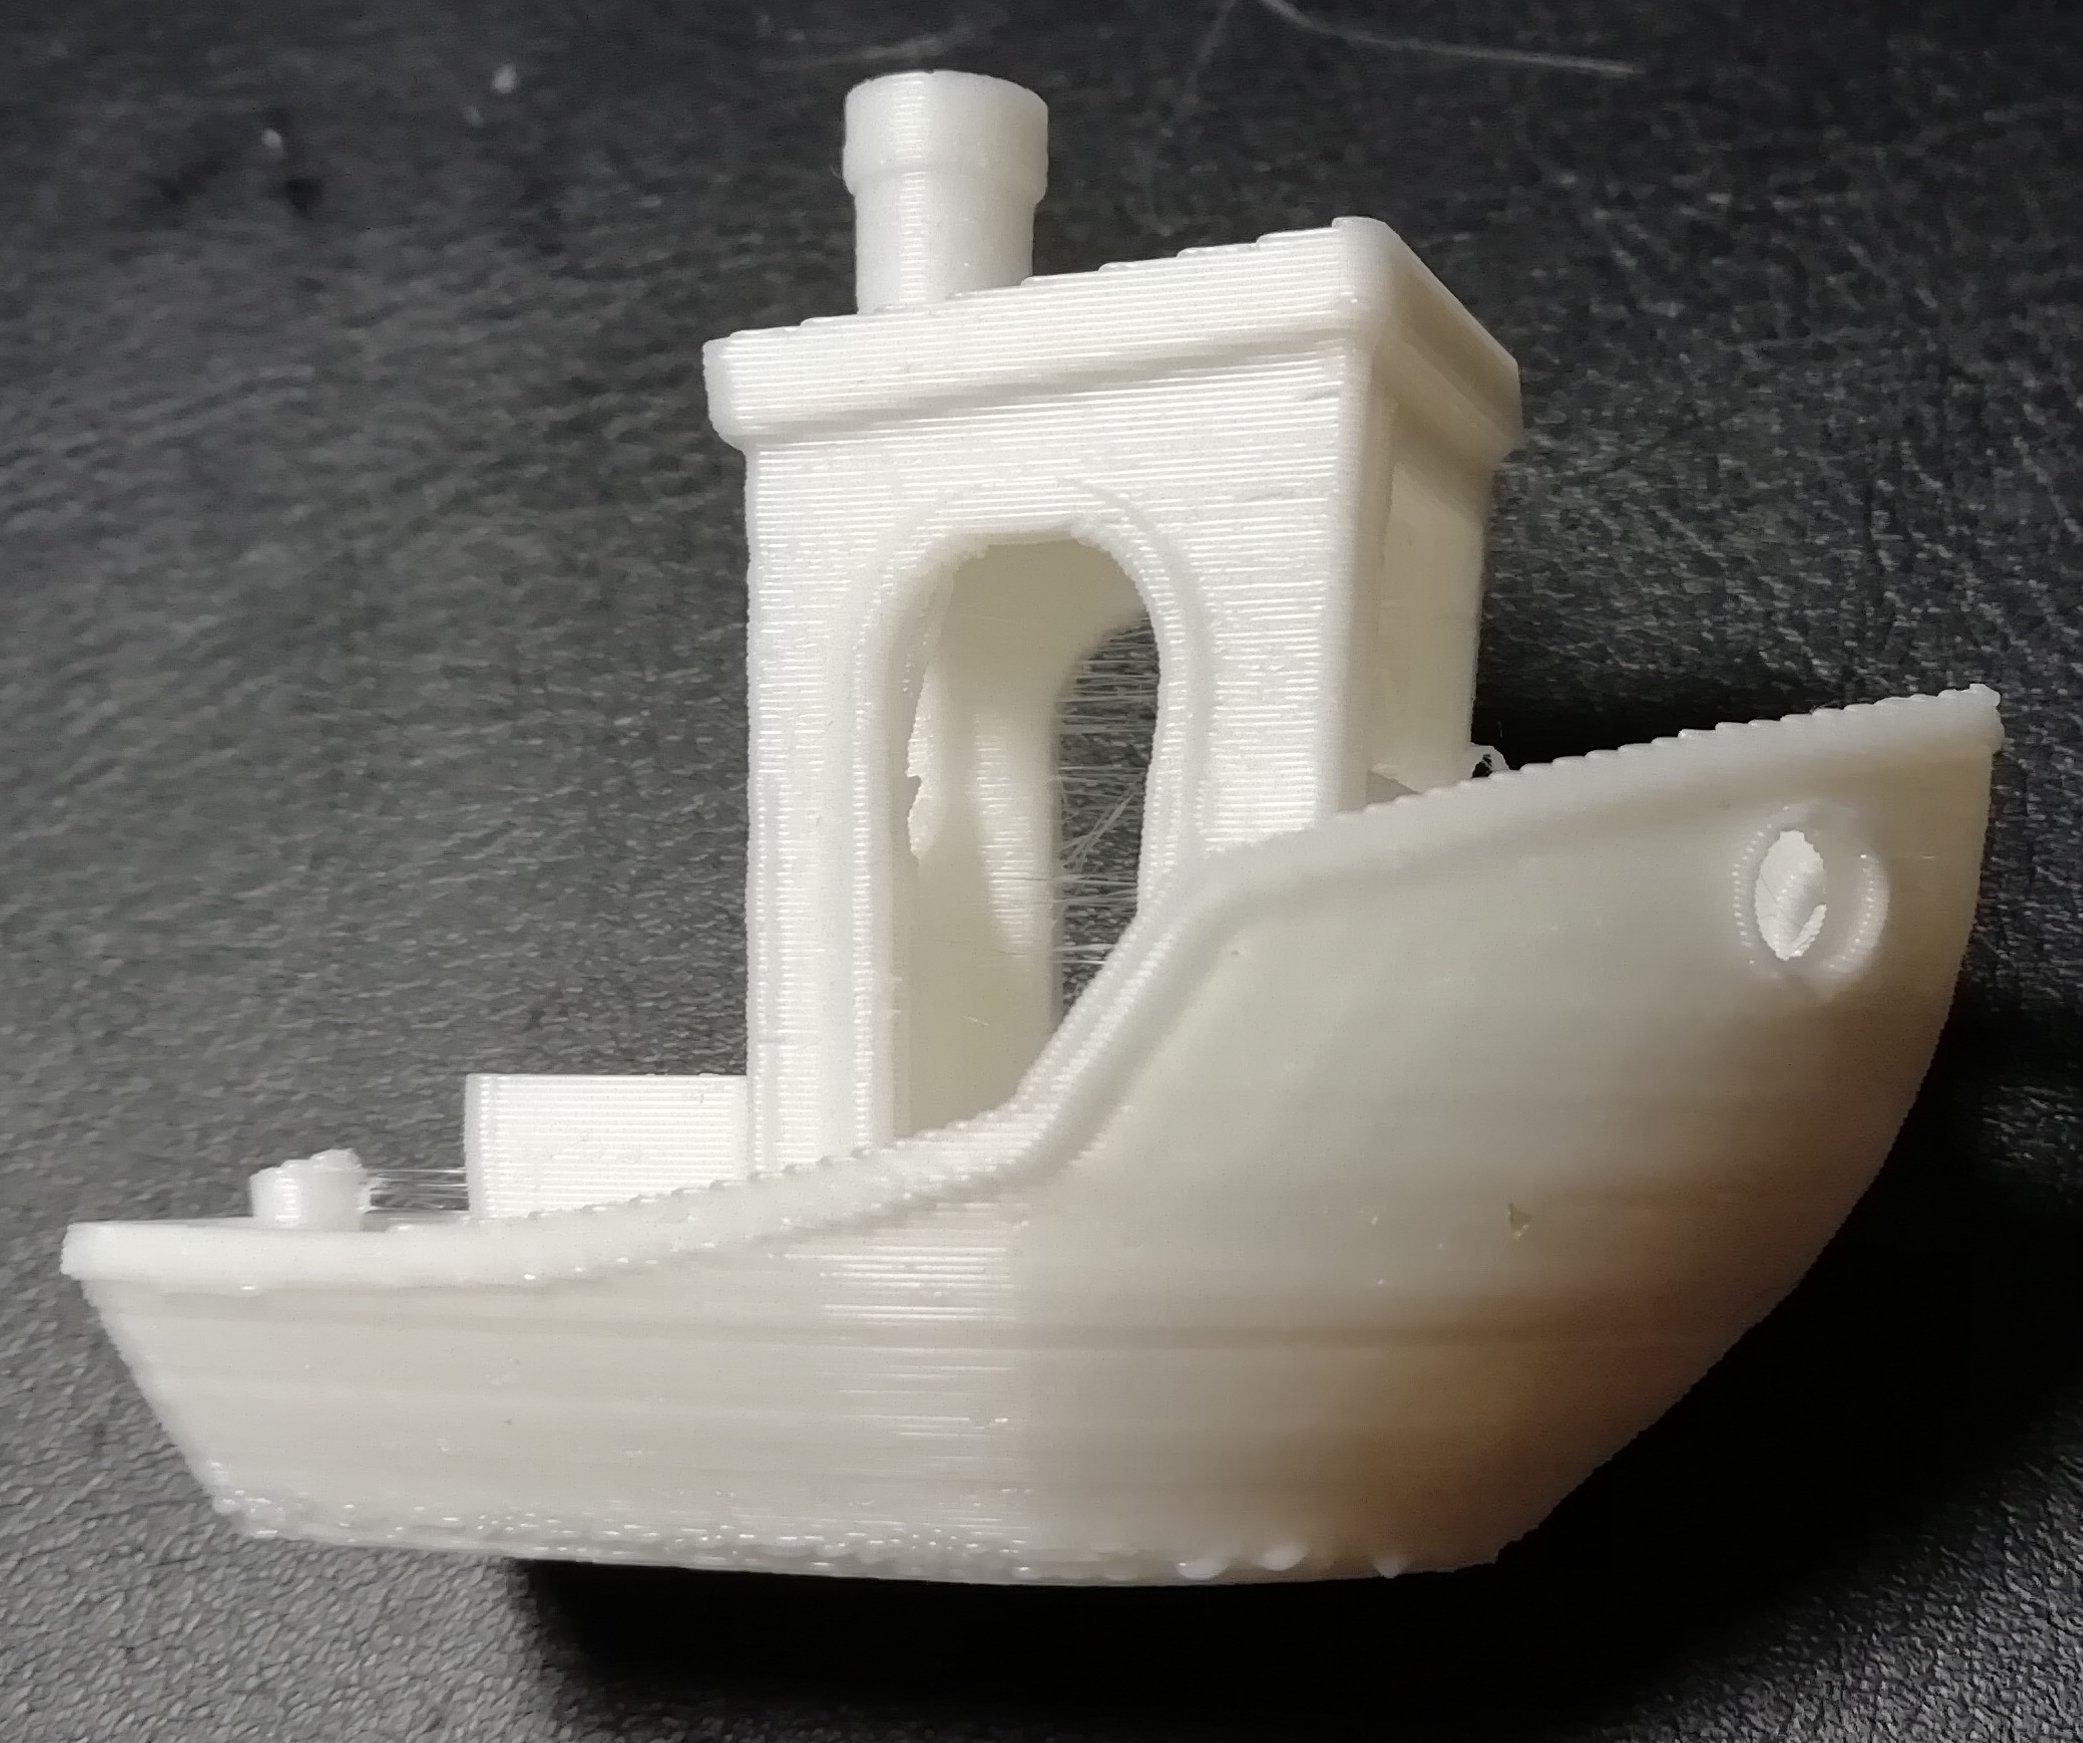
The first Benchy did not look too bad, considering, that it was literally the first print after assembly, no calibration or anything. Visible on the image though is some stringing and some irregularities in the bottom part of the model.
The first thing I did was to take a look on the settings of my slicer software. I use the Prusa Slicer, which is Prusa's fork of the Slic3r software and in my opinion a very nice piece of software. It even ships with Ender 3 settings which I used in the above pint of the Benchy.
The stringing seems to be a problem of the printer settings an I found a set of Prusa Slicer Profiles for the Ender 3 printer by Sn4k3. Following the instructions on the gitlab page is easy and works like a charm. After that I wanted to improve the way, the filament reaches the extruder. In my opinion, out of the box, the angles are not optimal. This snap in filament guide is a
nice first step, but the print showed what is called "elephant foot" at the bottom, a bit like the benchy before. Other parts showed the same issue:

First recommendation is always bed levelling. But this was not the issue here. The next thing I checked, was if the z-axis rod could move freely and I found, that the motor seemed to be a bit too close to the frame so that the rod would be slightly bent when the nozzle woyuld be just above the bed. It seems to be by design, and of course, there are parts you can add to you printer to correct that. But that too did not fix it. Finally,
the solution was somewhere on reddit. Most guides and manuals talk about how the concentric nuts and screws are preassembled too lose, so one should tighten it. Problem is, That is not always true and one can easily overtighten those nuts, so that the rollers are not moving freely. The tomb of 3D printed horrors has great and helpful videos and here is explained, that the nuts should only be tight enough but that you
should alwas be able to turn the rollers in place by hand.
In my case, the rollers on the opposite side of the z-axis rod where too tight and after the first one or two layers tension would build up and squish the following layers, befor the tension was high enough to move the tight rollers. Fixing this issue helped to print the next Benchy in a really nice condition: